Expert Techniques
Advanced Pumpkin Carving
Go beyond the basic cut-through. These techniques - depth shading, Dremel etching, and multi-layer designs - are what separate a showpiece from a standard jack-o'-lantern.
Depth Shading
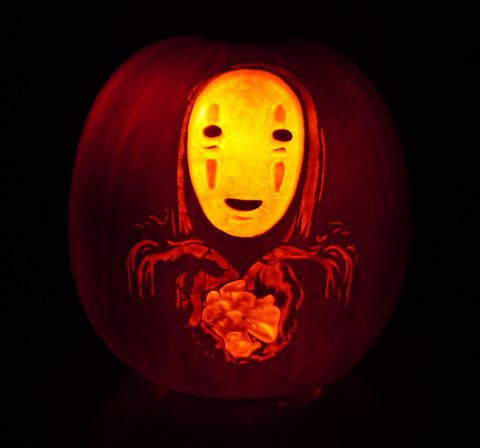
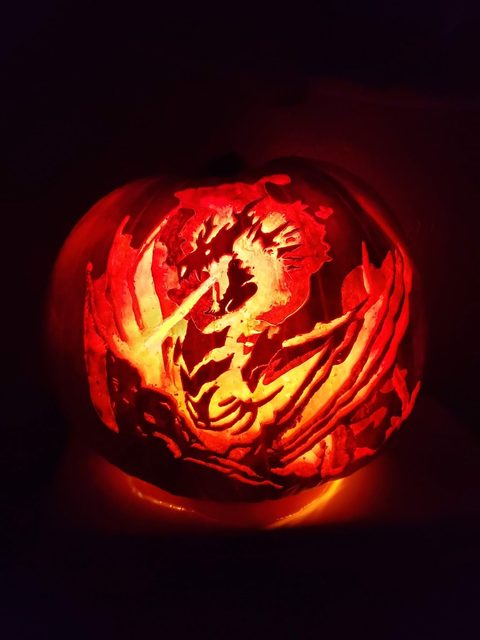
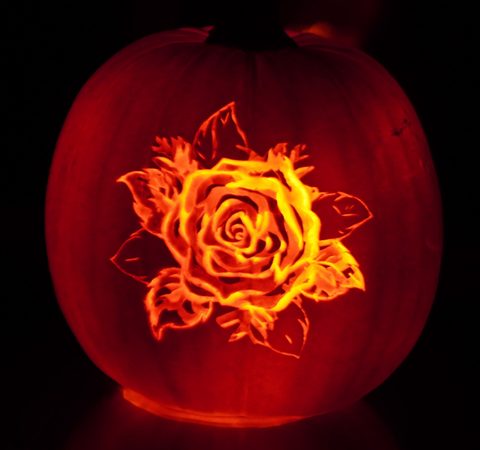
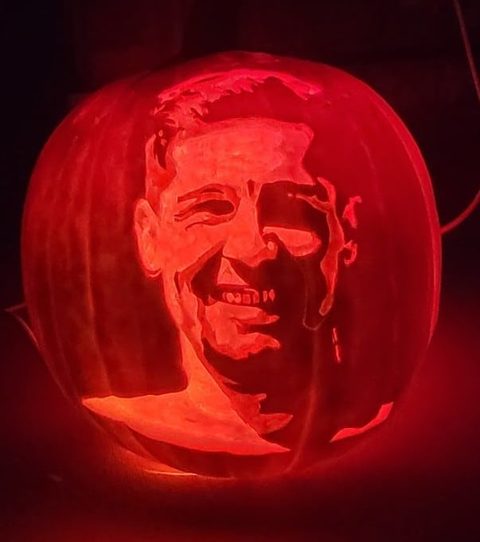
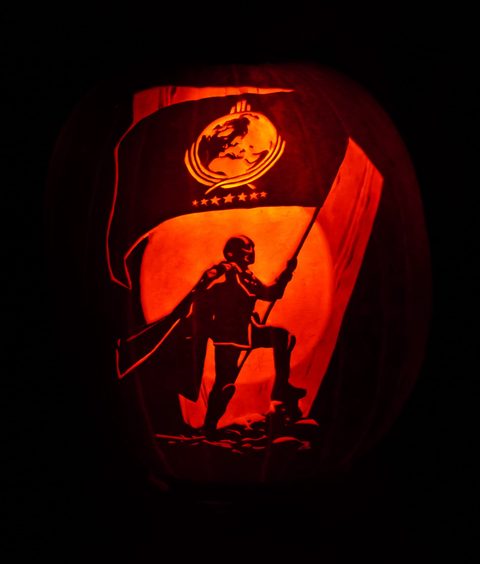
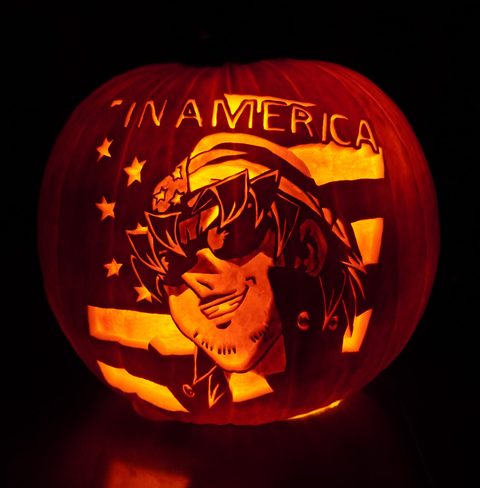
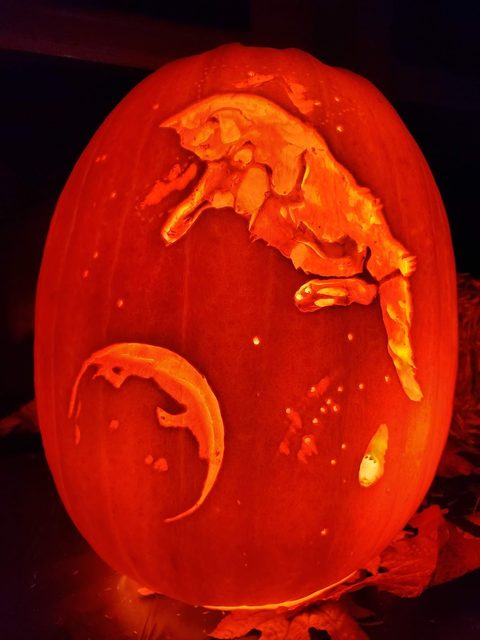
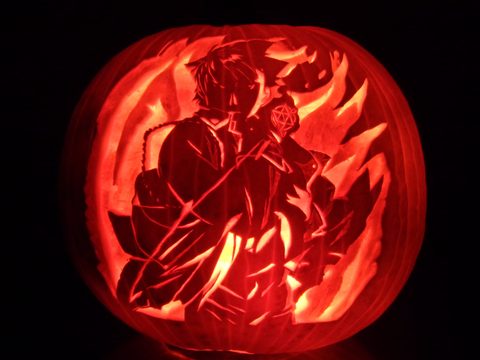
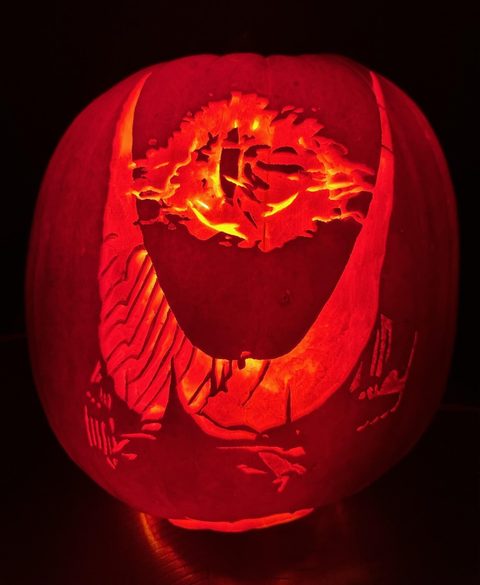
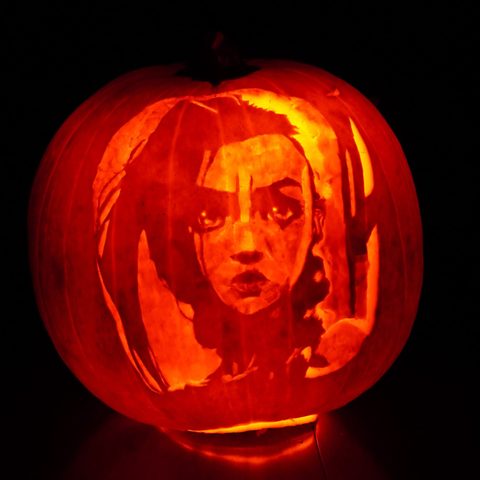
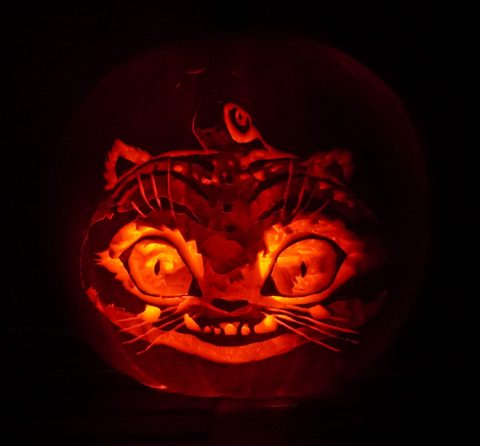
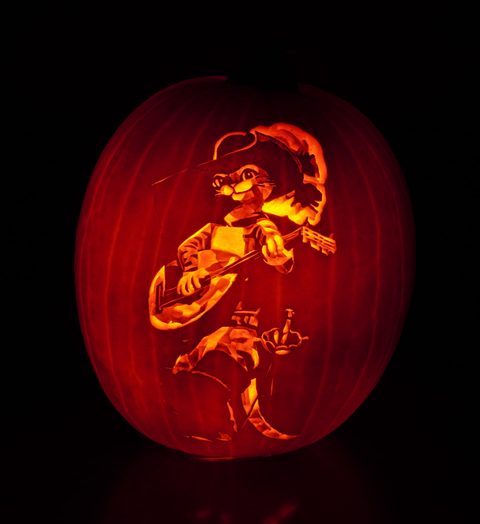
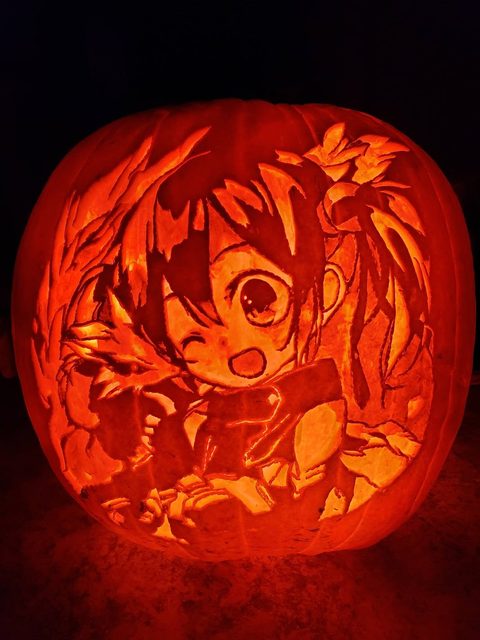
Remove flesh at varying depths instead of cutting all the way through. Shallow removes create soft glowing areas; deeper removes let through brighter light. Combining multiple depths in one design produces a three-dimensional, painted look when lit.
Dremel Etching
A rotary tool with a small ball bit gives you precise control over depth. Work in small sections at low speed. The goal is to make the flesh translucent without perforating it - check your progress frequently from the inside with a flashlight.
The Three-Depth Method
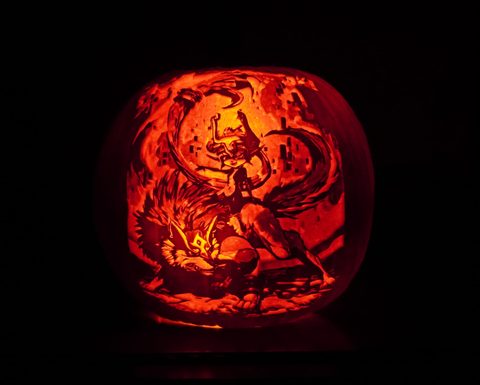
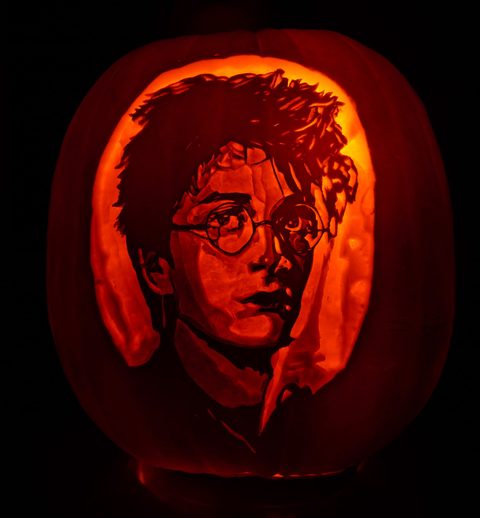
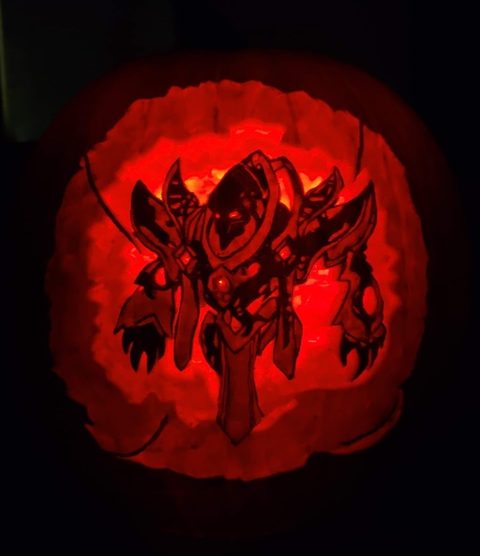
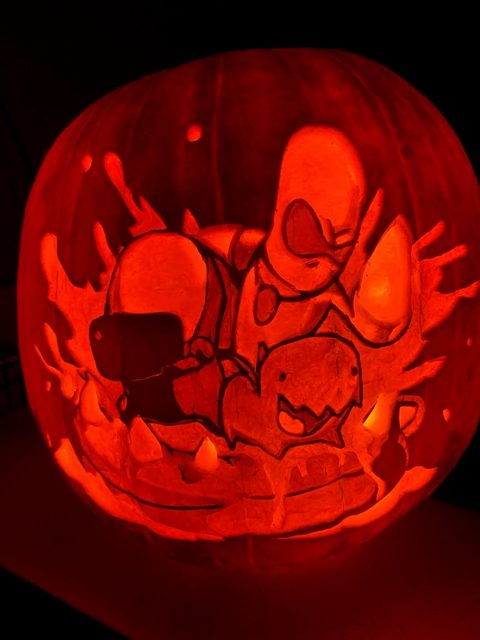
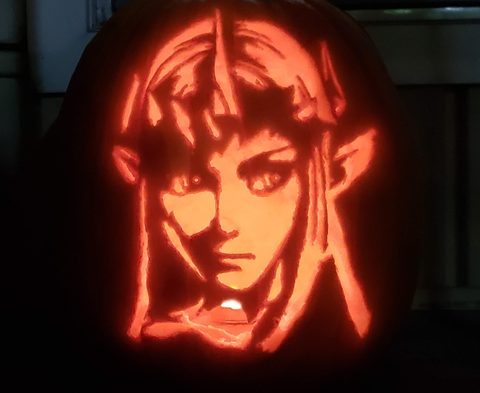
Layer three levels in a single design: full cut-through for bright highlights, half-depth removes for midtones, and surface etches for shadows and texture. This technique makes a flat stencil look three-dimensional when lit.
Pattern Transfer
For complex designs, tape the stencil tightly and use a poking tool to trace every line. Cut the most structurally important elements last - if you remove too much from one area early, the surrounding flesh may crack under pressure.
Hard & Expert Designs
Carvings rated 7/10 or above - sorted hardest first

Tips for Advanced Carvers
- Prep the wall thickness carefully.For etching, you want roughly 1 inch of flesh. Too thin and you lose depth range; too thick and even full cut-throughs won't glow.
- Work inside-out on complex scenes.Carve small interior details before the large surrounding areas - this preserves structural integrity while the pumpkin is still rigid.
- Use petroleum jelly immediately.Rub it on every exposed cut surface as you go. This slows oxidation and buys you days of extra display life.
- Light source matters.An LED puck gives even illumination for etched designs. A flickering candle adds drama for simpler silhouette carvings.
- Refrigerate between sessions.If your design takes multiple hours, refrigerate the pumpkin in a plastic bag between carving sessions.